How To Replace A Broken IPad Pro 12.9 Screen: A Step-by-Step Guide
Bring your iPad Pro 12.9 back to life! Our step-by-step guide simplifies screen replacement, empowering you to tackle this DIY repair with confidence.
How To Replace A Broken iPad Pro 12.9 Screen: A Step-by-Step Guide
If you’ve found yourself staring forlornly at your cracked or shattered iPad Pro 12.9 screen, you’re not alone. Accidents happen, and a broken screen can feel like a tragedy, especially given how central this device is to your daily life. But fear not! You’ve got the skills to tackle this repair yourself, and I’m here to guide you through each step of the process. With a little patience, the right tools, and a positive attitude, you can bring your beloved iPad back to life. Let’s get started!

Understanding the Basics Before You Begin
Before diving into the repair process, it’s crucial to familiarize yourself with a few basics about your iPad Pro 12.9. The screen consists of both the glass and the LCD underneath, both of which are integral to the device’s function. When the screen is damaged, you might experience anything from touch issues to complete display failures. A little knowledge can go a long way in helping you approach the repair with confidence.
Additionally, it’s essential to be aware of your warranty. If your iPad is still under warranty or covered by AppleCare, you may want to consider taking it to an authorized service provider. However, should you decide to proceed with the DIY repair, be prepared for the possibility of voiding any existing warranty.
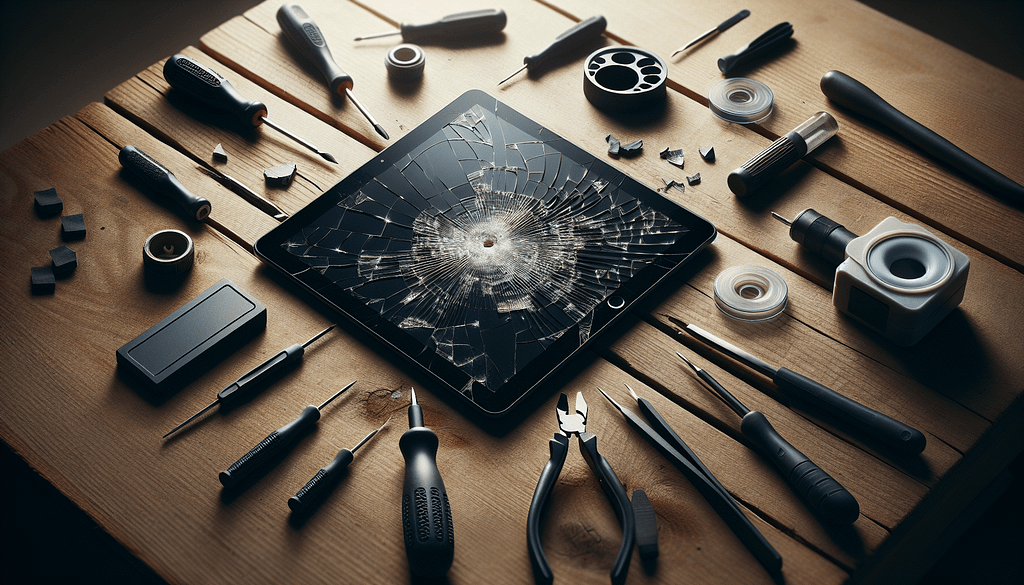
Gather Your Tools and Materials
Before you start, it’s vital that you gather all the necessary tools and materials. Having everything at your fingertips will save you time and make the process smoother. Here’s what you’ll need:
- A replacement screen specifically for the iPad Pro 12.9
- A heat gun or hairdryer
- Pentalobe and Phillips screwdrivers
- A plastic opening tool or credit card
- A suction cup
- Tweezers
- Adhesive strips for reassembly
- An anti-static wrist strap (optional).
Prepare your workspace too. A clean, flat, and well-lit area is ideal for preventing any accidental damage or loss of small parts. Getting set up will help you focus solely on the task at hand.
Preparing Your Device for Repair
The first step in the process is preparing your iPad for the repair. Make sure that the device is turned off completely before you proceed. This is an essential safety measure that protects both you and your device from potential electrical shocks.
Next, if you have a case or screen protector on your iPad, remove those. Also, checking for any water damage before you start is a good idea. If you have a significant amount of moisture inside the device, skipping the repair is advisable as it might lead to more extensive damage.
Finally, ensure you have a solid understanding of what you are about to do. Familiarizing yourself with video tutorials or guides can give you greater confidence as you work through each step.
Heating Up to Detach the Old Screen
Now that your iPad is ready, it’s time to start removing the broken screen. This is the point where your heat source comes into play. Use a heat gun or a hairdryer to warm up the edges of the iPad’s screen. The goal here is to soften the adhesive holding the screen in place.
Keep the heat source at a safe distance to avoid overheating the device. Even after a few minutes of heating, the adhesive should become soft enough for you to begin prying the screen away. Be patient; rushing this step could lead to further damage, and no one wants to work on a half-destroyed device.
Creating an Opening for Screen Removal
Once the edges of the screen have warmed sufficiently, it’s time to create a small opening. Using a suction cup, gently lift one corner of the screen. Once you achieve a small gap, insert a plastic opening tool or a credit card into that space.
Slide the tool along the edge of the screen, ensuring you don’t force anything too hard. The goal is to break the adhesive’s hold without damaging the frame or the internal components. If you encounter any resistance, don’t hesitate to apply a little more heat and try again. Slowly working your way around the screen makes this process easier and greatly reduces the risk of breaking anything more.
Working Your Way Around the Screen
After you’ve managed to create some initial separation, you’ll need to carefully work your way around the entire perimeter of the screen. Continue using your plastic opening tool, moving gently along the edges where the screen meets the frame. It’s tempting to pull hard once you start seeing some progress, but it’s crucial to remain gentle at this stage.
As you proceed, be vigilant about the internal components. The last thing you want to do is inadvertently damage delicate connectors or wires while you’re trying to lift off the broken display. Precision is key in this step, and I know you can do it!
Disconnecting the Battery
Before proceeding to fully detach the screen, it’s wise to disconnect the battery. This step ensures that the iPad won’t power on while you are working on it, reducing the risk of a shock or accidental damage. Depending on your specific model, this may involve removing screws and gently lifting the cover that protects the battery connector.
Once you find the battery connector, use your tweezers or plastic opening tool to carefully disconnect it. Keep all screws or small parts stored safely so you can easily recover them later. Disconnecting the battery is often a overlooked step, but being cautious now can save you a lot of trouble later on.
How To Replace A Broken IPad Pro 12.9 Screen: A Step-by-Step Guide
Removing the LCD Screen
With the battery safely disconnected, you should now focus on removing the actual LCD screen. Just like you did with the glass, use your suction cup and plastic opening tool to gently lift and separate the screen from its frame.
As you continue this process, keep an eye out for any connectors that may need disconnecting along the way. If you find any, make sure to disconnect them using your tweezers. Patience is pivotal here; forcing or pulling too hard can lead to more serious damage. Proceed slowly and steadily, and your persistence will pay off!
Detaching the Broken Glass
At this point, your broken screen should be mostly separated from the frame. If you’re still struggling with stubborn adhesive, apply gentle heat again before attempting to pry the final bits free. Once the glass is fully detached, you’ll want to clean any leftover adhesive from the frame using isopropyl alcohol and a soft cloth.
This cleaning step is essential because any leftover residue can affect the new adhesive you’ll apply during the reassembly process. Take your time here; ensuring a clean surface will help your new screen adhere properly.
Installing the New Screen
With the old screen successfully removed, the next step is to install the replacement screen. Begin by aligning the new screen with the frame, ensuring that all connectors are positioned correctly for easy attachment. A little bit of patience is essential during this step — taking your time now will save you headaches down the road.
Before you press the new screen down into place, make sure all connectors are securely in place and that it lines up evenly with the device. If everything looks good, begin applying pressure around the edges to effectively adhere it into its frame.
Reconnecting the Battery and Final Assembly
Now that your new screen is in place, it’s time to reconnect the battery. Essential safety tip: always make sure the device is completely powered off before re-establishing any connections. Locate the battery connector and attach it securely to the motherboard. The same goes for any other connectors that you may have previously detached.
After reconnecting everything, double-check that all screws and parts are reattached securely. You don’t want anything rattling around inside your iPad when you’re finally able to power it back on. Maintaining a tidy reassembly can sometimes feel tedious, but every little detail adds to the overall quality of the repair.
Testing the New Screen
Once everything has been securely reattached, it’s time for the moment of truth: powering your iPad back on. Hold your breath if you must, but keep that positive attitude! If all goes well, your device should boot up with a gleaming new screen.
Take a moment to inspect the new display, checking that touch functionality is operational and that there are no dead pixels or lines on the screen. A successful repair will leave you feeling accomplished — like a superhero who has saved the day!
Clean Up and Enjoy Your Repaired iPad
Now that you’ve completed the repair, it’s time to clean up your workspace. Pack away your tools, dispose of the broken screen responsibly, and give yourself a pat on the back. You’ve done it! You should feel incredibly proud of taking on a DIY project like this.
To enhance your experience further, consider applying a screen protector to your new display. This simple addition can help shield it from future accidents, prolonging the life of your iPad for years to come.
Conclusion
In the end, replacing a broken iPad Pro 12.9 screen might seem daunting, but following this step-by-step guide will empower you to take control of your device’s repair. You’ll save money, learn valuable skills, and reinforce the satisfaction that comes from tackling challenges head-on.
If you found this guide helpful, I encourage you to clap for the article, share your thoughts in the comments, and subscribe to my Medium newsletter for more updates and tips! Here’s to many more productive activities on your fully functional iPad Pro!
from Stories by Casenixx Phone Cases on Medium https://ift.tt/vTy5tRr
via IFTTT


Comments
Post a Comment