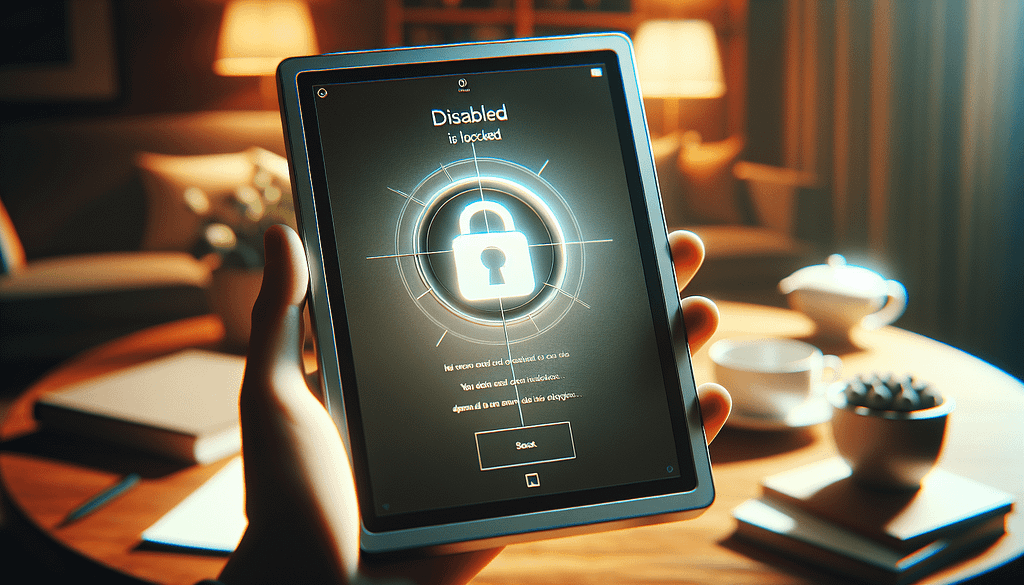
What To Do If Your Ipad Is Disabled
Unlocking your iPad doesn’t have to be a nightmare. Discover practical steps to regain access and prevent future lockouts in this informative guide.
What To Do If Your iPad Is Disabled
Imagine this: you’re all set to dive into your favorite app on your iPad, and suddenly, you see it — that dreaded message saying “iPad Disabled.” You might feel a surge of panic because your connection to the digital world seems severed. But don’t worry; the situation isn’t as dire as it sounds! In this article, we’ll go through the steps you can take if you find your iPad locked out, giving you clear instructions on how to regain access to your device. So, take a deep breath, and let’s get started.
Why Is Your iPad Disabled?
Before you can tackle the problem, it’s essential to understand how your iPad got disabled in the first place. The most common reasons include entering the wrong passcode too many times, which prompts the device to lock itself for a specified period or, in some cases, indefinitely. If you forget your passcode or a child accidentally types in a sequence of incorrect numbers, your iPad will restrict access to protect your information. Understanding the mechanism behind this can help you avoid similar situations in the future, but for now, let’s focus on how to fix it.
Signs That Your iPad Is Disabled
Recognizing the signs that your iPad is disabled is the first step toward a solution. When your iPad becomes disabled, you’ll see a message on the screen that indicates the time until you can try to enter the passcode again. If you’ve hit the limit, you might see messages like “iPad is Disabled. Try again in X minutes.” If it shows “iPad is Disabled. Connect to iTunes,” it’s offering a more permanent lockdown status. Once you spot this message, it’s time to spring into action to regain access to your beloved device.
Try to Wait It Out
If your iPad screen shows a countdown, a simple yet effective option is to wait it out. The device will automatically unlock after the timer expires, allowing you to enter your correct passcode. This might require a little patience on your part, especially if the wait time is long. However, this method is the least invasive and doesn’t risk data loss.

Connecting to iTunes
If your iPad displays the message “iPad is Disabled. Connect to iTunes,” you’ll need to potentially reset your device using iTunes. To do this, you need a computer with iTunes installed. If you haven’t used iTunes before, don’t worry; this process isn’t complicated.
- Connect your iPad to your computer using a USB cable.
- Open iTunes and select your device when it appears on the screen.
- You might need to put your iPad in recovery mode. To do this, press and hold the Home button and the Power button simultaneously until you see the recovery mode screen.
- Once your device is in recovery mode, iTunes will prompt you to restore it. Proceed by selecting the option to restore.
This action will erase everything on your device, and you’ll need to set it up as new or restore it from a backup afterward.
Using Finder on macOS Catalina or Later
For those using macOS Catalina or later, you’ll use Finder instead of iTunes to fix your disabled iPad. The steps are quite similar:
- Connect your iPad to your Mac with a USB cable.
- Open a Finder window and select your device from the sidebar.
- Again, you might need to enter recovery mode by pressing the Home and Power buttons.
- When prompted, choose to restore your iPad.
Make sure you have backups ready, as this process will erase everything on your iPad. Knowledge is power in this situation, and being prepared is crucial.
Resetting Your iPad Using iCloud
If your iPad is linked to an Apple ID and you have Find My iPad enabled, you can also reset your device remotely via iCloud. This method is especially handy if you don’t have access to a computer or your iTunes application isn’t functioning. Here’s how to do it:
- Go to iCloud.com and log in with your Apple ID.
- Click on “Find iPhone,” even if you are trying to locate your iPad.
- Select “All Devices” at the top and then choose your disabled iPad from the list.
- Click on “Erase iPad,” and this will wipe your device, restoring it to factory settings.
Just like other methods, this will erase all data, so make sure you have your iPad backed up beforehand.

Using Third-Party Software
If you prefer a less conventional method, numerous third-party software options exist that claim to unlock disabled iPads without the need for data loss. Programs like Dr.Fone, Tenorshare ReiBoot, and iMyFone LockWiper provide step-by-step assistance to unlock your device. While these tools can be effective and save data, proceed with caution. Always read reviews and ensure the software is reputable before proceeding.
What to Do After Unlocking Your iPad
Once you successfully unlock your iPad, you’ll need to set it up again, particularly if you’ve performed a factory reset. During this process, you can choose to restore from a backup if you have one. Make decisions carefully about what data you want back on your device, so you don’t overload it with unnecessary files.
It’s also a good opportunity to implement some preventative measures. Consider using a memorable yet secure passcode, enabling Face ID or Touch ID if your device supports it, and regularly backing up your data to ensure you don’t lose anything important in the future.
Preventing Your iPad from Being Disabled
While it’s sometimes hard to prevent these situations from arising, there are a few steps you can take. Familiarize yourself with your passcode and avoid using overly complicated combinations that are difficult to remember.
Additionally, enable biometric authentication methods such as Face ID or Touch ID for quicker access to your iPad. Regularly backing up your iPad allows you to restore your data easily in case of mishaps like this. Finally, keeping your software updated to the latest version can potentially minimize the risk of software glitches that may lead to a disabled state.
How to Back Up Your iPad
An essential preventative step is ensuring you frequently back up your iPad data. Backups provide peace of mind that you can restore your device after a reset, effectively bringing you back to your comfort zone. There are two main ways to back up your iPad: via iCloud or through your computer.
Backing Up via iCloud
- Connect your iPad to a Wi-Fi network.
- Go to Settings, tap your name, and select “iCloud.”
- Tap “iCloud Backup” and then “Back Up Now.”
- Stay connected to Wi-Fi until the backup completes.
Backing Up via Computer
If you prefer a local backup, use your computer:
- Connect your iPad to your computer using a USB cable.
- Open iTunes if you’re on Windows or macOS Mojave and earlier, or Finder if you’re on macOS Catalina or later.
- Select your device and click “Back Up Now.”
Regular backups protect your photos, documents, and app data, keeping them safe no matter what happens to your iPad.
Learning from the Experience
Dealing with a disabled iPad might feel overwhelming, but it can also be a learning experience that helps you appreciate the importance of your device management practices. By taking the time to analyze what went wrong and implementing some of the preventative measures we discussed, you can avoid similar pitfalls in the future.
Furthermore, understanding the options available when disaster strikes means you won’t be left helpless. Take this experience as an opportunity to enhance your technological literacy and ensure the smooth operation of your iPad moving forward.
When to Seek Professional Help
While most issues can be resolved with the steps outlined in this article, some situations might require a professional touch. If you continue to face problems after trying to restore your iPad, or if you suspect hardware issues, visiting an Apple Store or an authorized service provider may be your best course of action. They possess the tools and expertise to diagnose and fix the problem without risking more data loss.
In Conclusion
Finding yourself with a disabled iPad can be frustrating, but now you’re well-equipped to handle it! Whether you choose to wait it out, restore it via iTunes, use iCloud, or even explore third-party software, options abound for getting back to your digital life.
Remember, the key is remaining calm and methodical. Take steps to avoid a repeat of these issues by securing your passcodes, utilizing backups, and understanding how to restore your device effectively. Your iPad is an invaluable tool, and protecting it is paramount.
If you found this article helpful, I’d love for you to clap it, leave a comment sharing your thoughts or experiences, and subscribe to my Medium newsletter for the latest updates and tips on Optimizing Your Digital Life. Happy iPad’ing!
from Stories by Casenixx Phone Cases on Medium https://ift.tt/tnibm63
via IFTTT
Comments
Post a Comment